How to Create Your Marriage Biodata
From start to download in just a few minutes. Follow these simple steps and get a beautiful, share-ready biodata.
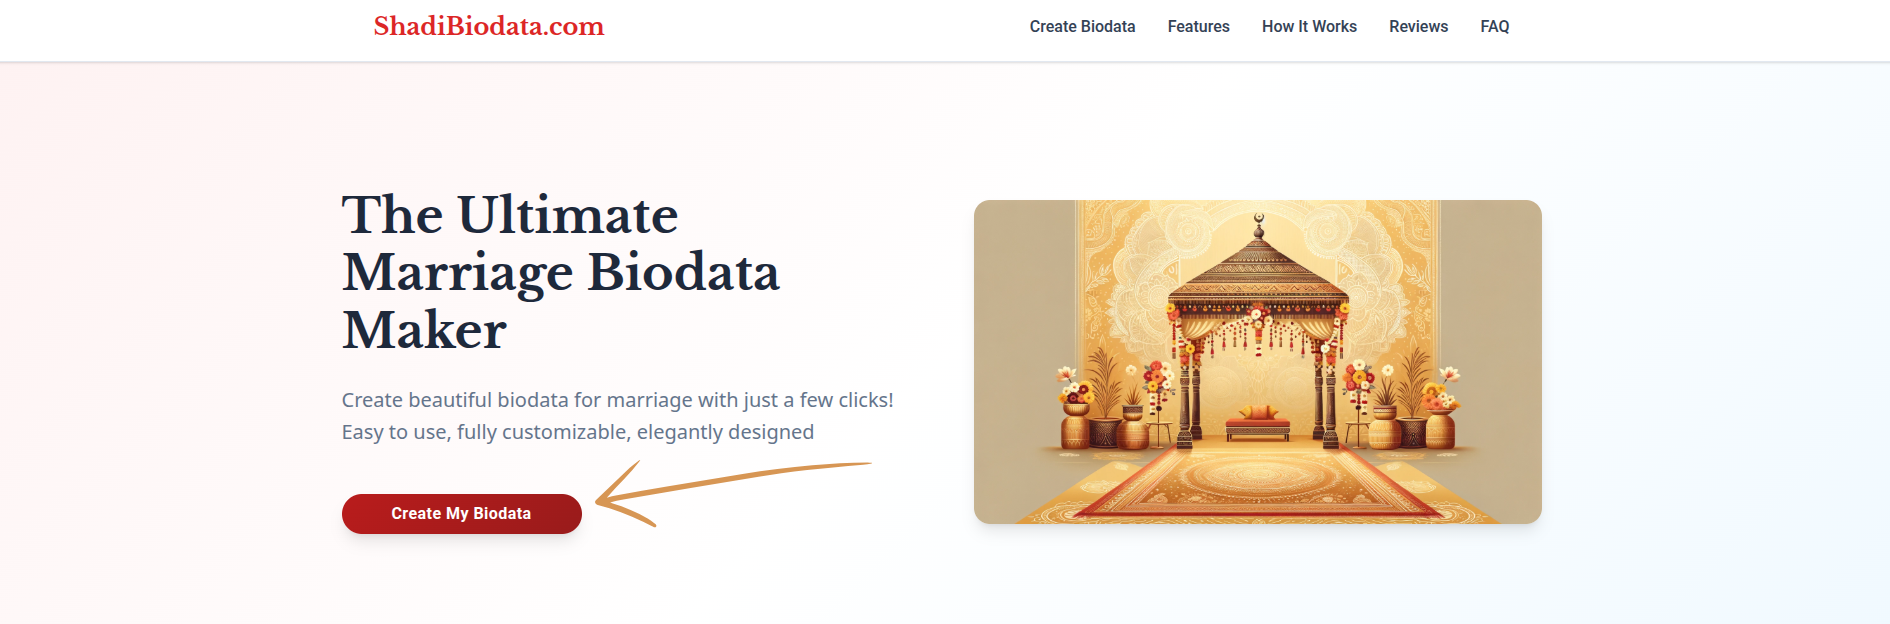
Start Creating Now →Phase 1: Get Started
Click "Create My Biodata"
Head to the homepage and click the "Create My Biodata" button to begin a fresh session. No registration or sign-up is required — you can start building right away.
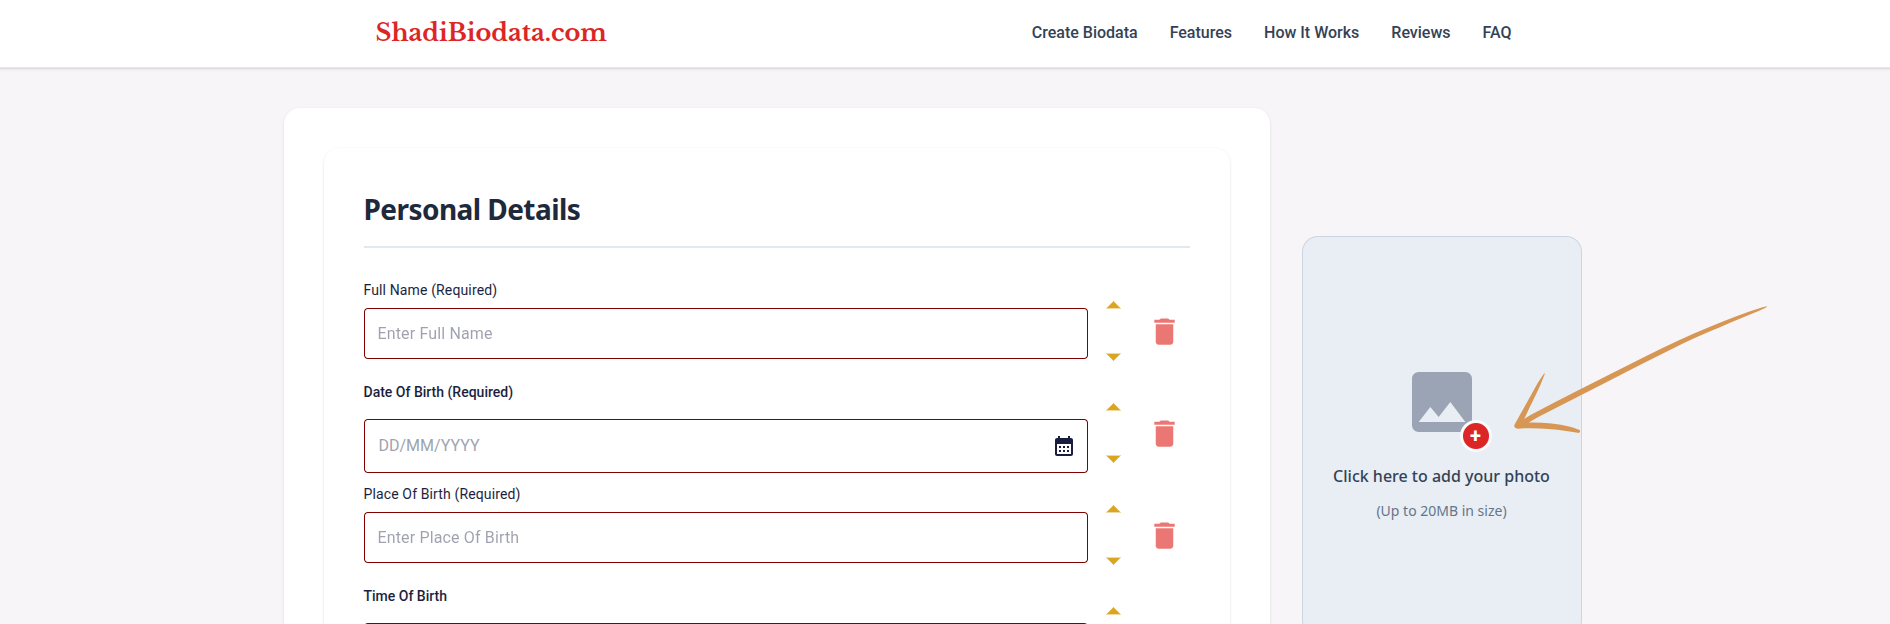
Upload a Profile Picture
Choose a clear, recent photo of yourself. A good photo makes your biodata look professional and leaves a lasting impression on prospective families.
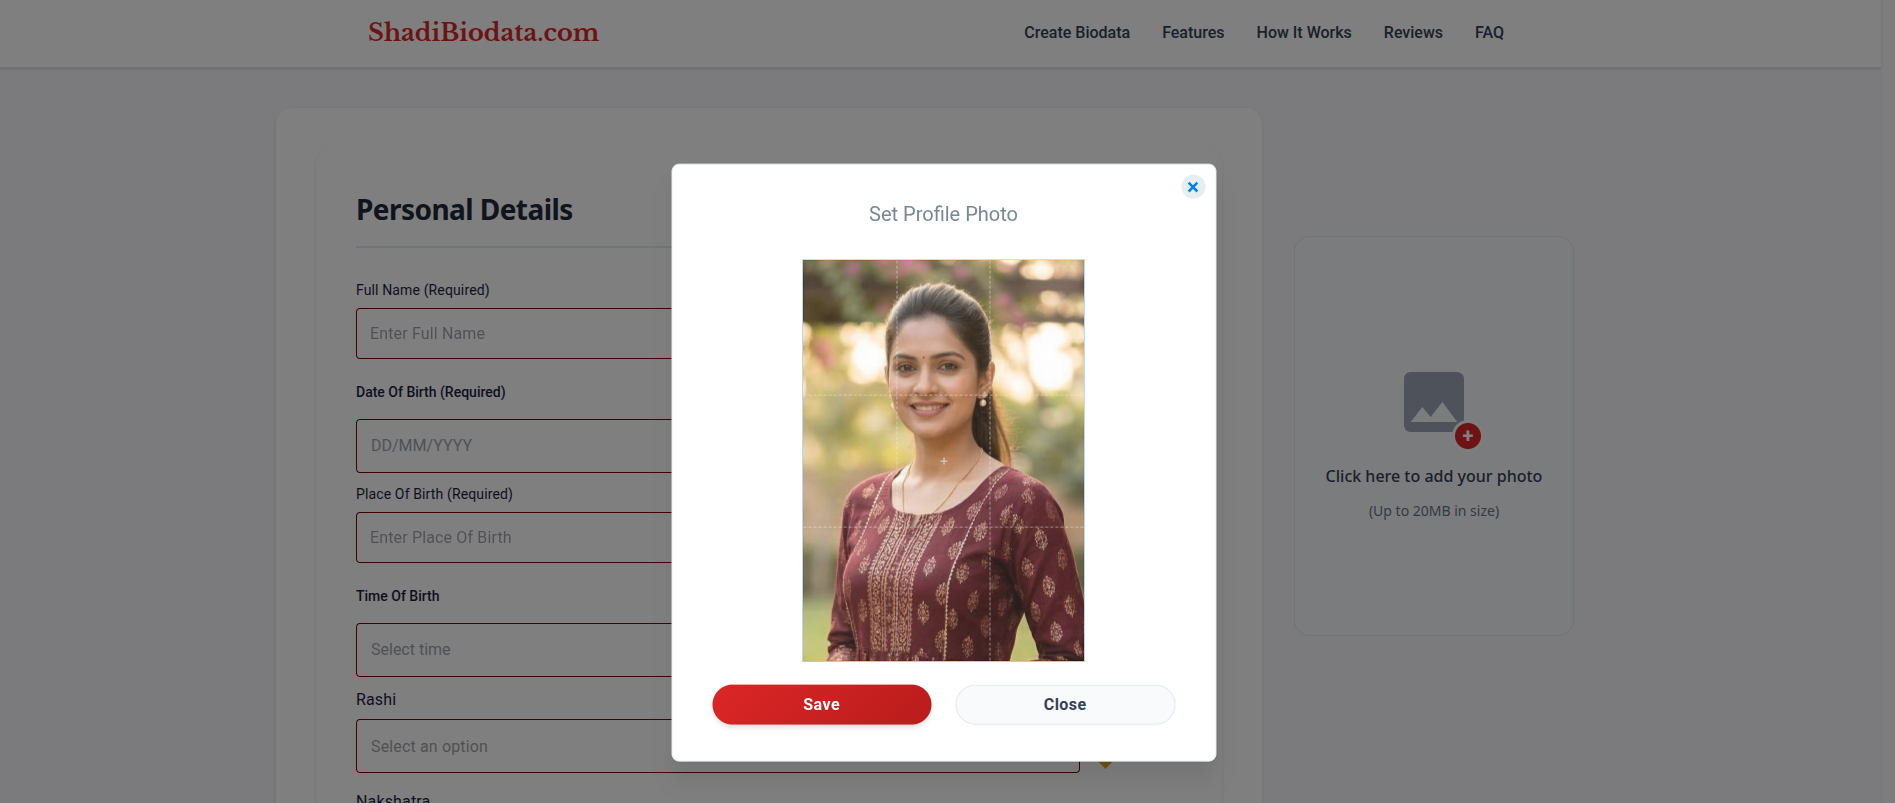
Crop to Your Preference
Use the in-app cropping tool to frame your photo perfectly. You can zoom, pan, and adjust the crop area to get exactly the look you want before it appears on the biodata.
Phase 2: Fill In Your Details
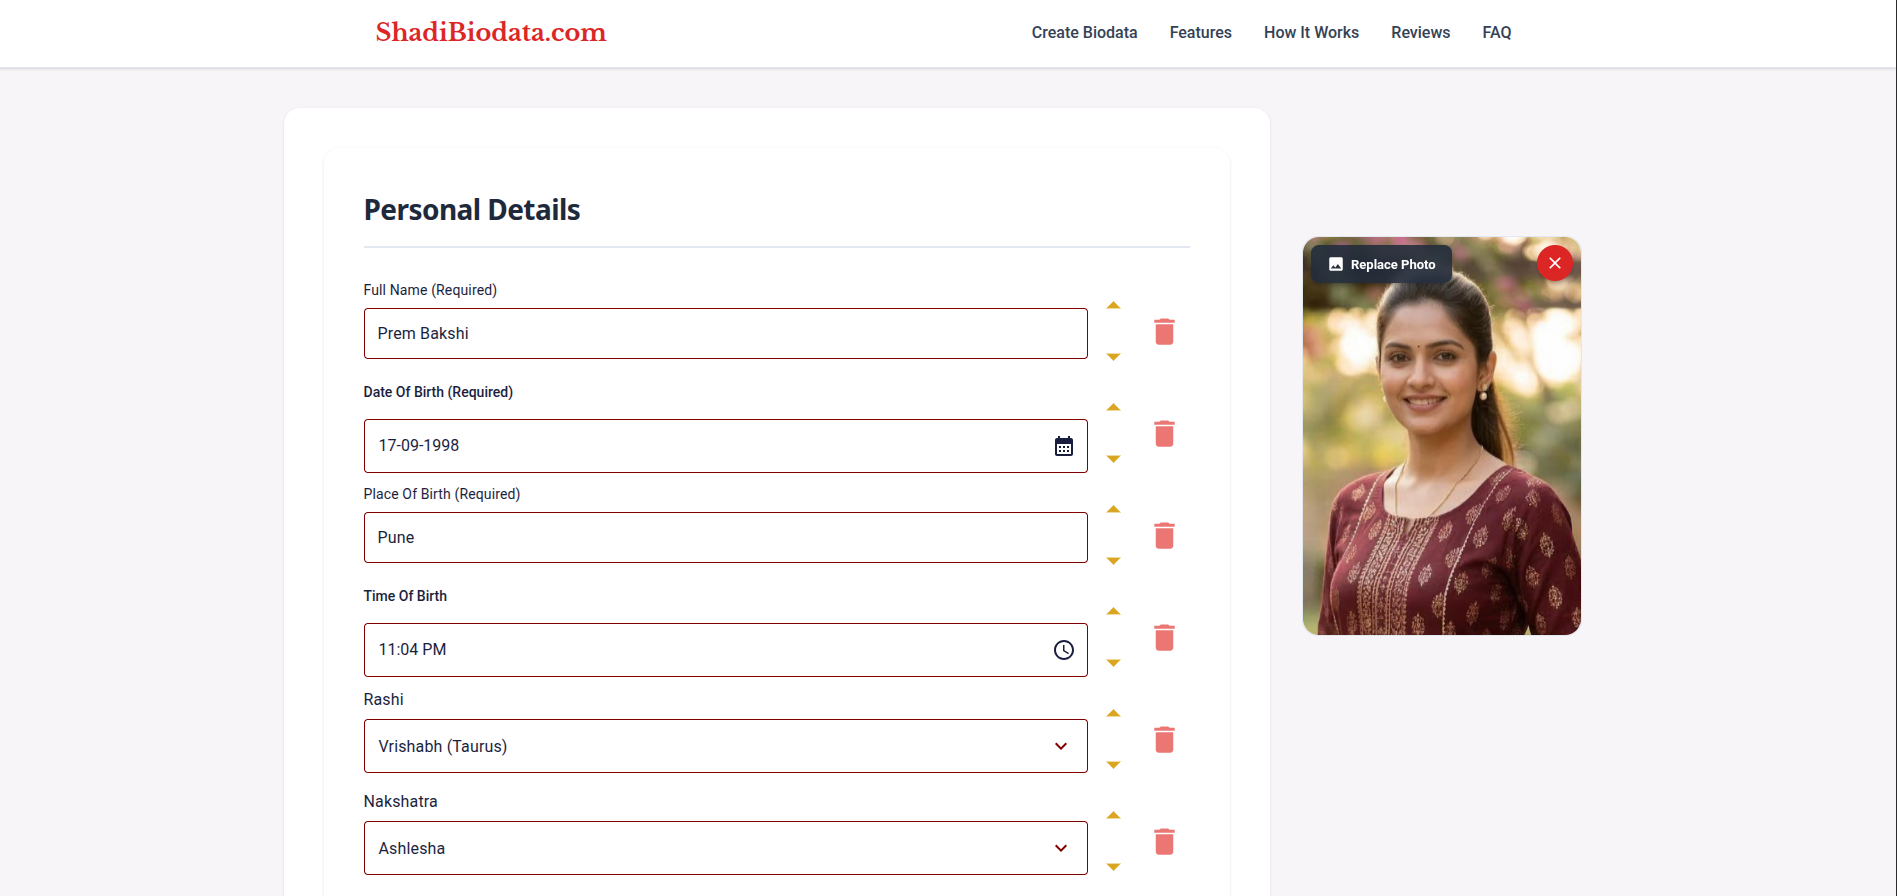
Enter Your Personal Information
Fill in your name, date of birth, height, complexion, religion, caste, mother tongue, and any other personal details. Each field is clearly labelled to guide you through the process.
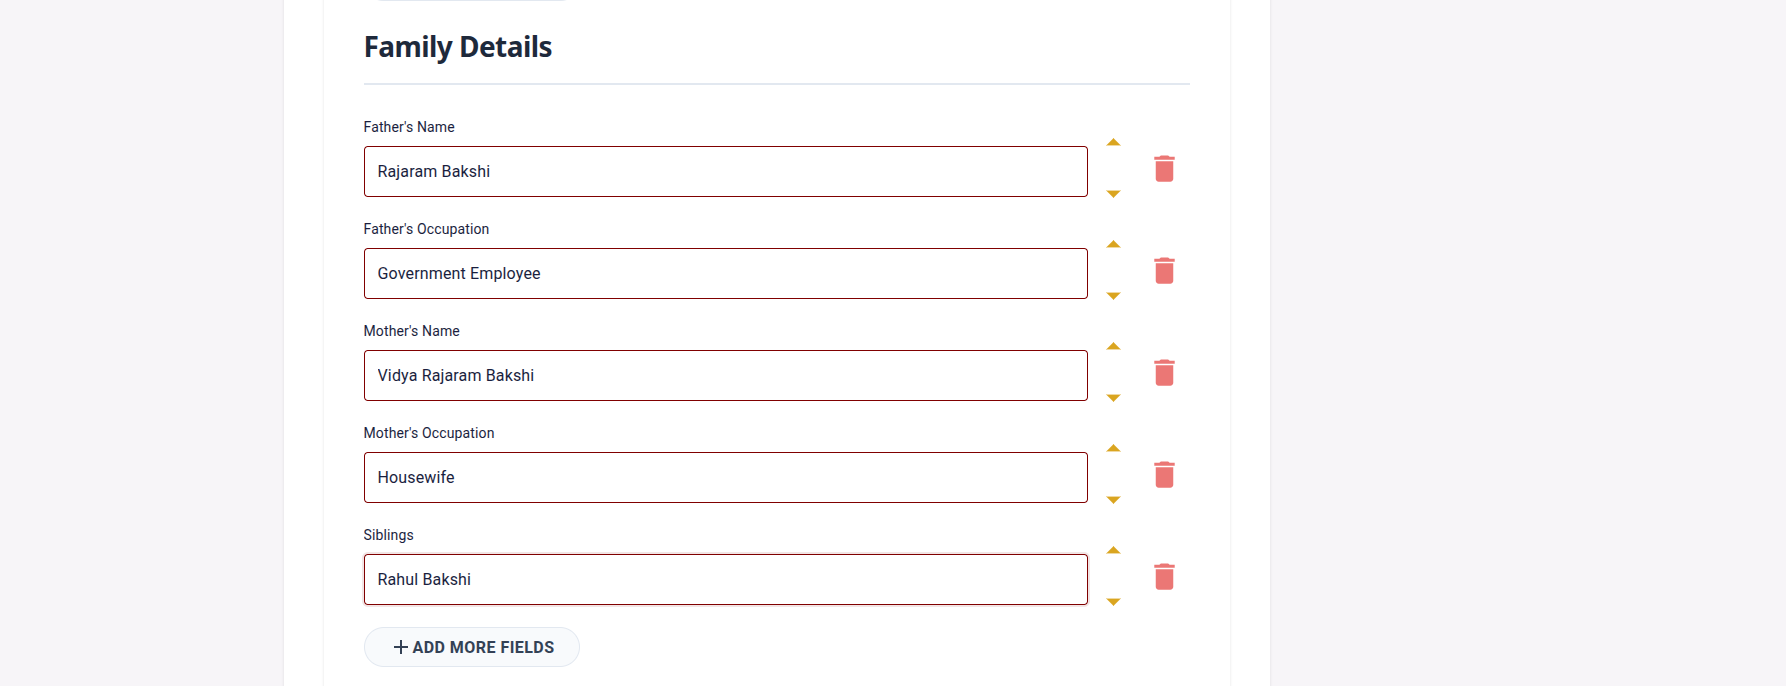
Fill in Family Information
Add details about your parents, siblings, and family background. Many families consider this an important part of the biodata, so provide as much detail as you are comfortable sharing.
Add Contact Details
Add Contact Person's Name, your phone number, email address etc. This section helps families contact the right person for proposals and inquiries.

Phase 3: Customise the Fields
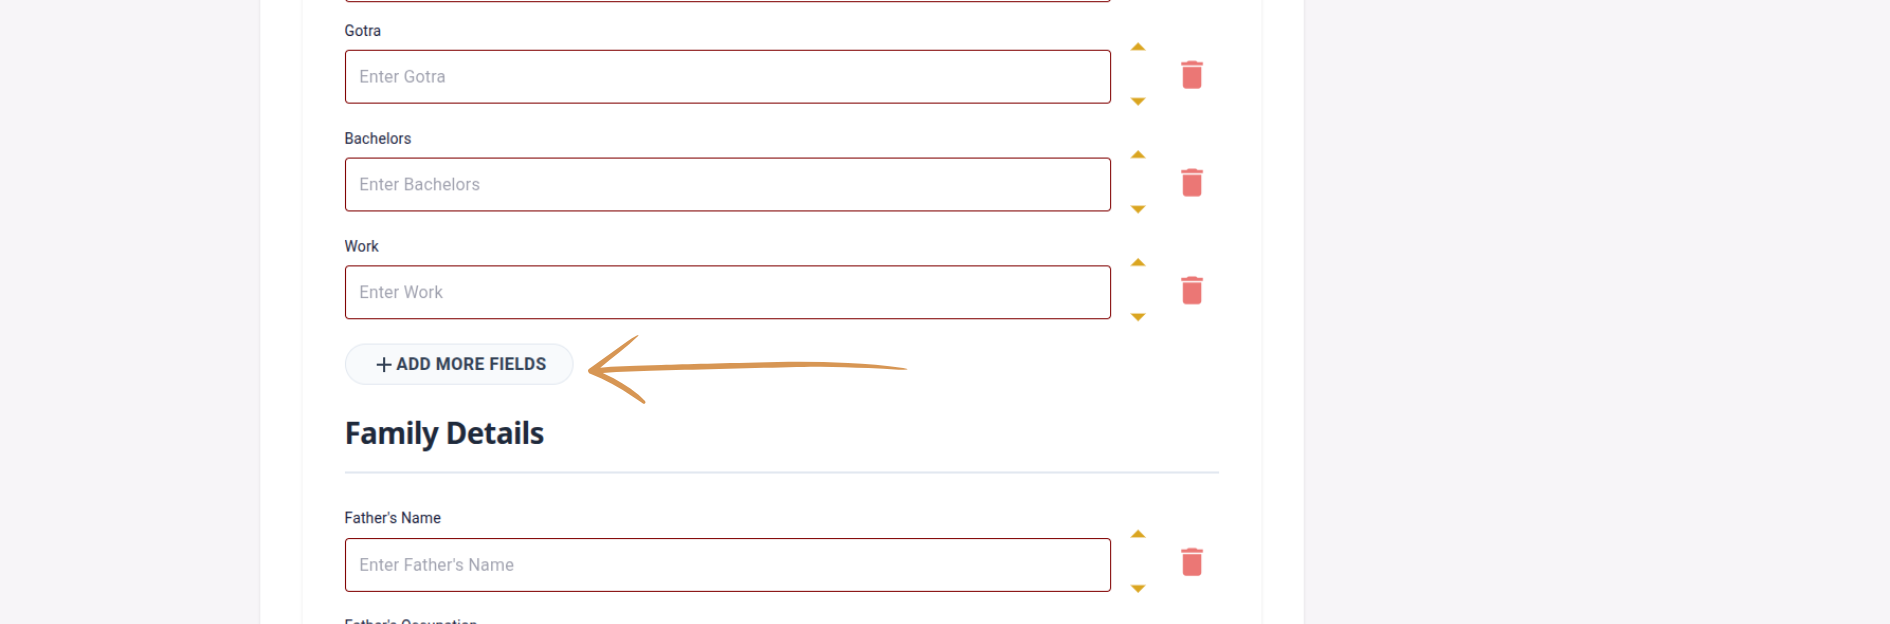
Add Custom Fields
Need to include something not in the default form? Click "Add Field" to create a custom entry — such as hobbies, expectations, gotras, or anything else that is relevant to you.
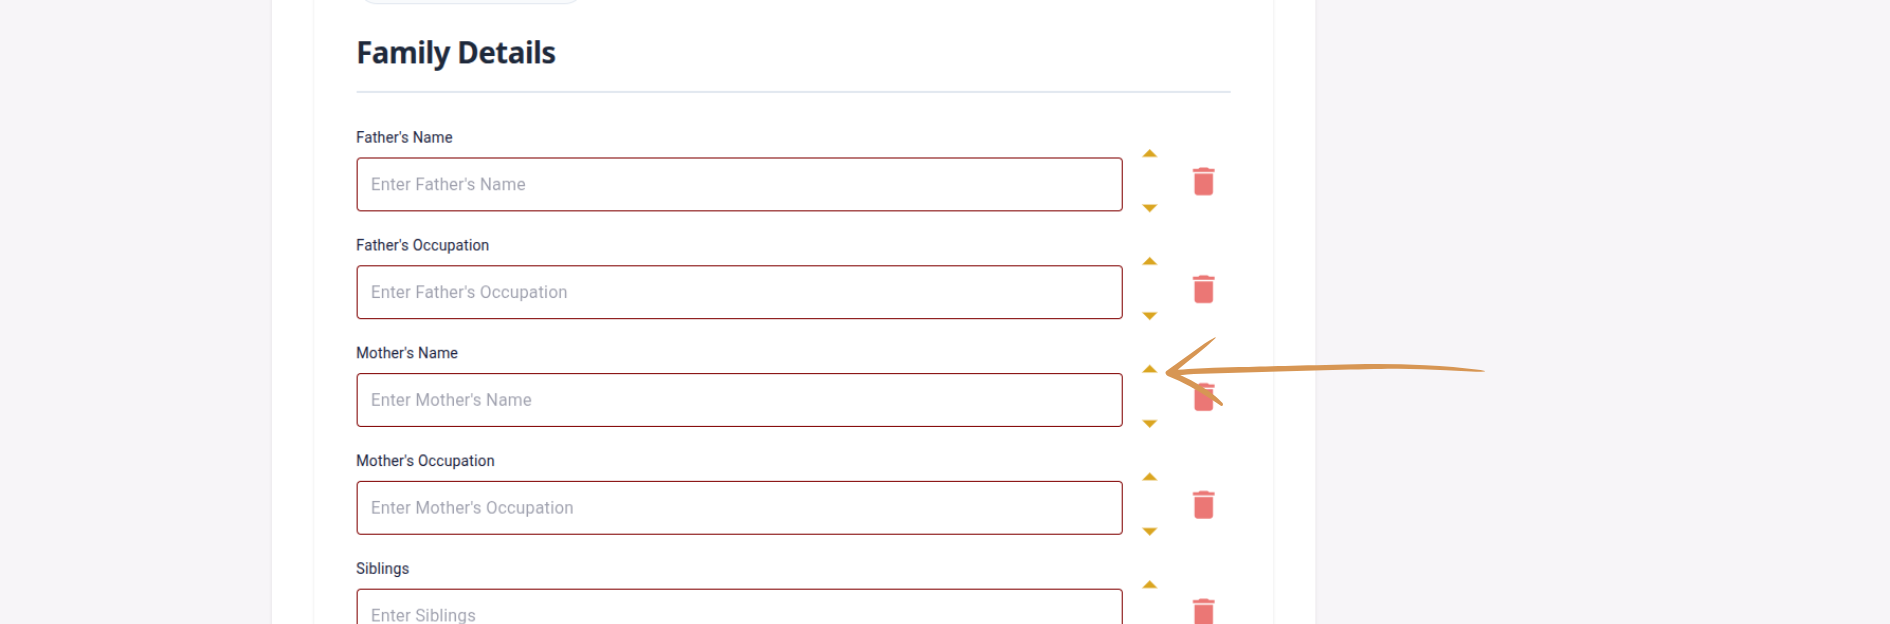
Reorder Fields
Drag and drop Fields or Use Buttons to change their order. Want your Father's Name to appear before Mother's Name in personal info? No problem — arrange the biodata however you prefer.
Remove Unnecessary Fields
Delete any fields that are not applicable to you. Keeping the biodata focused and relevant ensures readers can quickly find the most important details.

Phase 4: Choose & Download
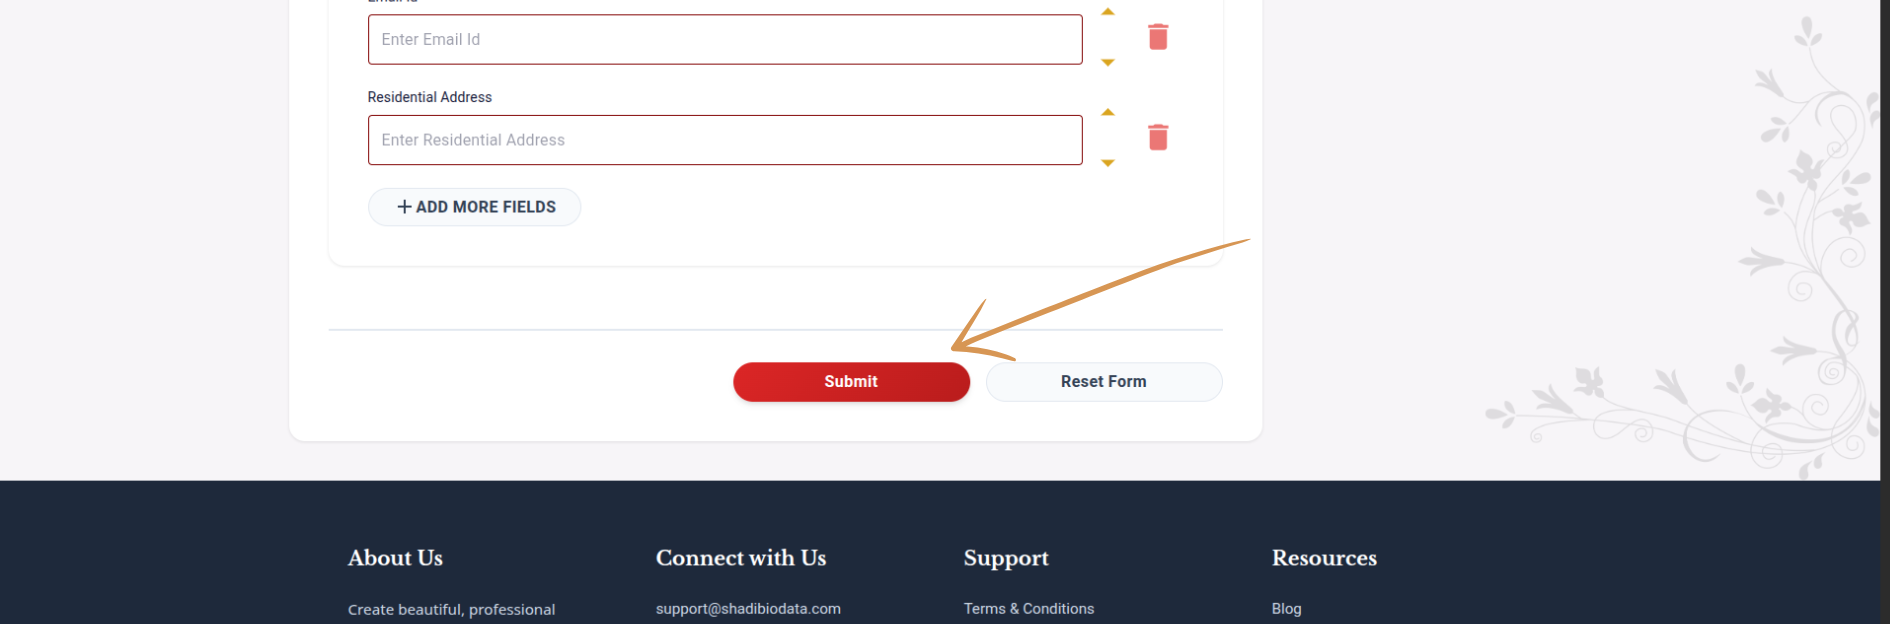
Submit the Form
Once you are happy with all the details, click "Submit". Your information is saved and you are taken to the template selection screen.
Pick a Template
Browse through our collection of beautiful templates — modern, traditional, minimalist, and more. Preview each one to see how your details will look before making a choice.

Complete Purchase (if applicable)
Premium templates require a one-time payment. The process is quick and secure.
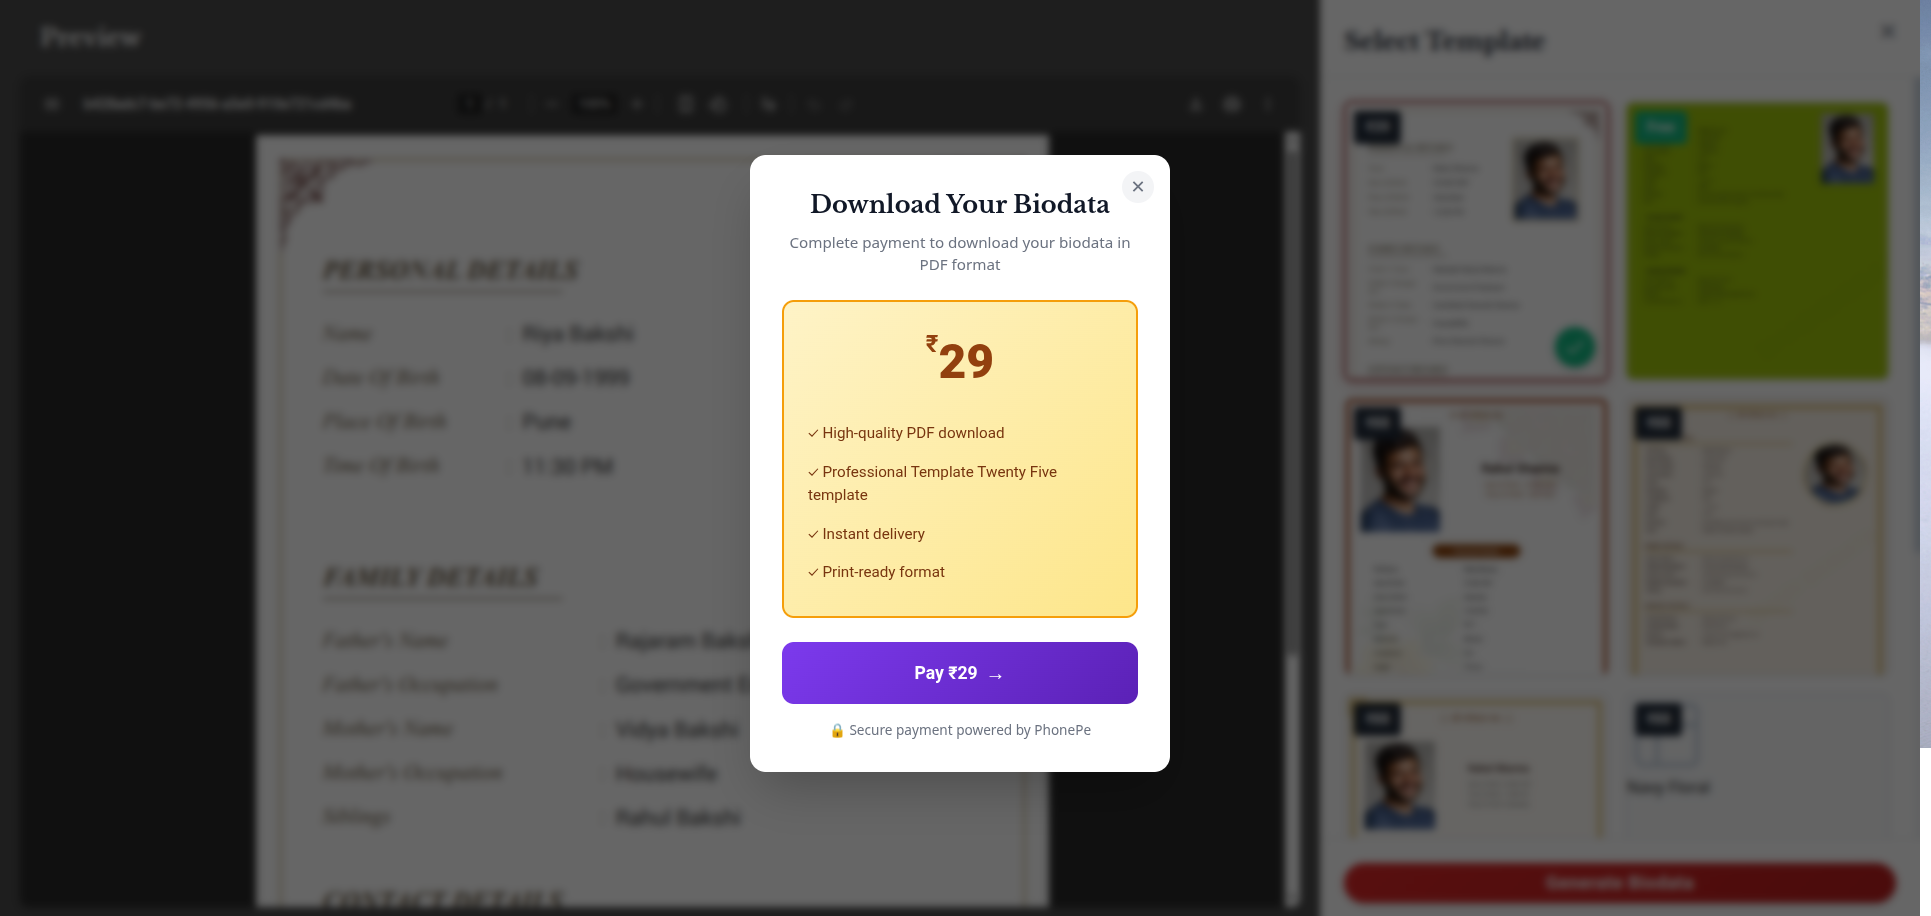
Download Your Biodata!
Your biodata is generated as a high-quality PDF, ready to download instantly. Share it via WhatsApp, email, or print it for in-person meetings. Congratulations!
Ready to get started?
It takes just a few minutes to create a polished, professional biodata.
Create My Biodata